
TF
TradifyFX Team
·
1
min read
Setting them, dragging them, and how they trigger.
Set both in the order ticket before you confirm, or add them afterwards by dragging on the chart.
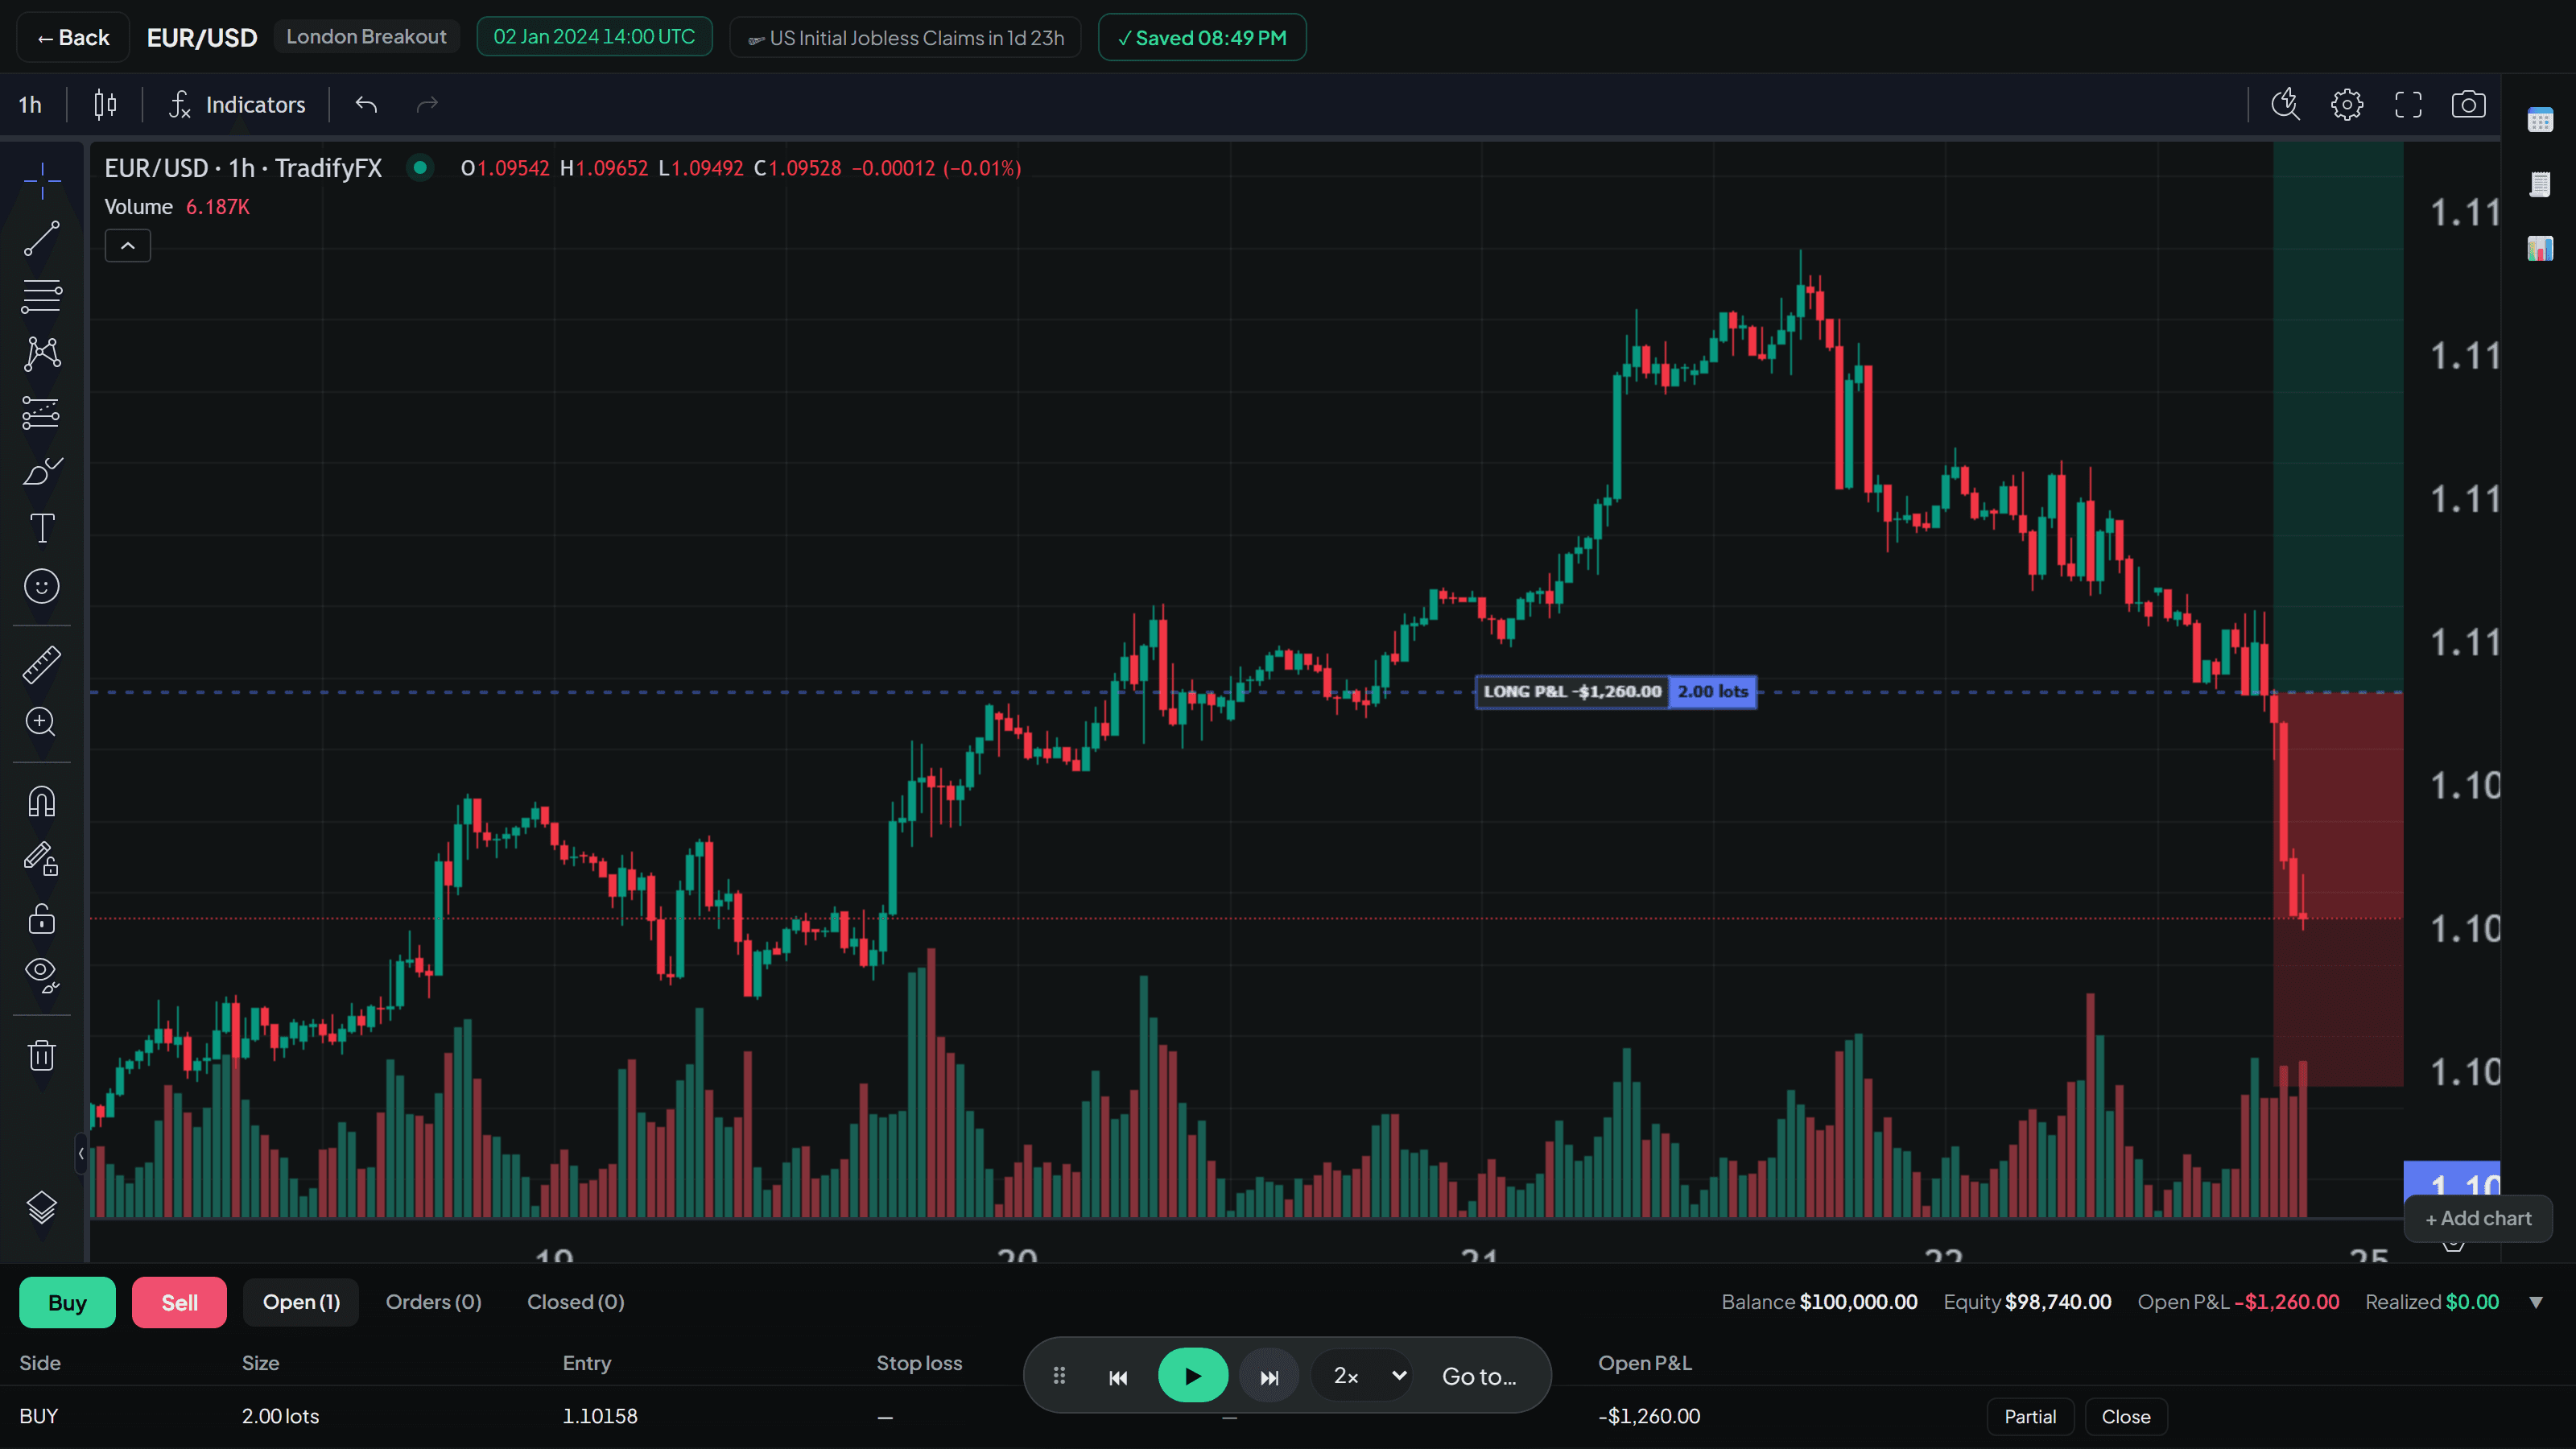
Dragging on the chart
Once a position is open, its stop and target appear as draggable lines. Drag one to move it.
If you drag a stop to somewhere impossible — above the price on a long, say — it snaps back rather than accepting it.
Click the ✕ on a line to remove that side.
How they trigger
TradifyFX checks them inside each candle, not just at the close, and it does so pessimistically:
If a candle’s range covers both your stop and your target, the stop is taken. Nobody can prove which came first, so you get the worse outcome.
If price gaps past your level, you are filled at the opening price on the other side — not at your level. That is what a real broker does.
On tick-by-tick printing, levels are checked every simulated minute, so you watch the stop approach rather than discovering it after the fact.
These rules make results slightly worse than an optimistic simulator would show. That is deliberate. A backtest that flatters you is worth nothing.
Automatic break-even
Turn this on in Settings → Backtesting and your stop moves to your entry price once the trade is up by the amount you were risking — one R.
It is a useful discipline to test, because it removes the decision at exactly the moment people usually make it worst.
Related articles
In this topic
Still stuck?
Tell us the strategy name and roughly when it happened, and we’ll look at the exact session.
Contact support


